
 | |

|
|
The Timing of an autococker is to what the programmer is to the program. Without good timing your gun may not fire or work in a efficient manner. The timing of a autococker relies on hammer lug timing, Cocking rod length, Timing rod length. Some people think that timing an autococker is a difficult task. The workings of an autococker is a little overwhelming at first glance but once you know how ever thing works it really easy.
Hammer lug:

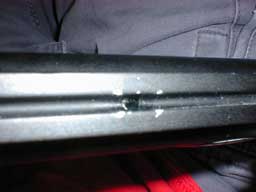
The hammer lug is the first place we take a look at. You adjust the hammer lug by using a 1/8 Allen wrench into the top of the autococker depending on if you have a year 2000+ autococker. Adjusting the hammer lug moves the point at which the hammer is released in the trigger pull. To Adjust the hammer timing you first take out the bolt and pull the cocking rod back just a hair till you feel the Allen wrench fall in to the adjustment screw at the bottom. I found it easiest to put the Allen wrench in the hole and pull the cocking rod just a bit till I see the Allen fall down just a bit. in most cases you want the hammer to release during the middle of the trigger pull. Turn the Allen to the right to move the release point to the back and turn the Allen to the left to move it closer to the front.
3-Way (Timing Collar):

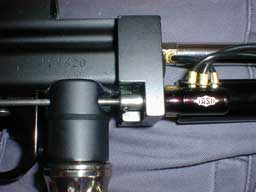
This is the Second point of Autococker timing. The 3-way is the heart of the gun, It determines the point at which the gun Re-cocks its self. Typically you want the 3 way to move the back block in the last 1/4 pull of the trigger. You adjust the three way by Removing the small set screw in the timing collar and twisting it up or twisting the timing rod down. To move the 3-way switch point to the back you move the collar down. I found it easy to do with a pair of needle nose pliers. To move the cocking point forward move the timing collar up. Note:::: The ideal point of 3-way point is where the sear release and 3-way switch points are close together in which causes a suction in the feed tube. You can check for suction timing by putting a piece of tissue paper on top of the feed tube and then firing the marker.
Cocking Rod:

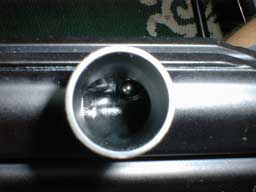
The cocking rod limits the travel of the bolt inside of the gun when the gun is fully cocked you do not want to see the bolt in the feed tube. You can check this by either gassing up your gun with no hopper and paint and pull the trigger back and hold. Or you can pull the back block as far as you can and look into the feed tube. If you can see the bolt then you need to adjust the cocking rod. You do this by inserting a 3/32 allen into the grub screw in the back of the cocking rod and depending on whether or not you have a stock cocking rod you may want to use a crescent wrench. Once you find the position at which your bolt does not show inside the feed tube you then put the allen inside the grub and turn to the right while at the same time turning the crescent wrench to the left to lock the cocking rod.
Back Block Position:

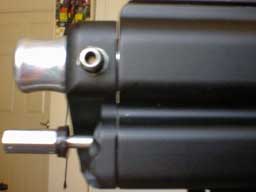
The Back block position is ideal when the space between the body and back block is the size of a sheet of paper. This will lower the clacking sound when firing.